
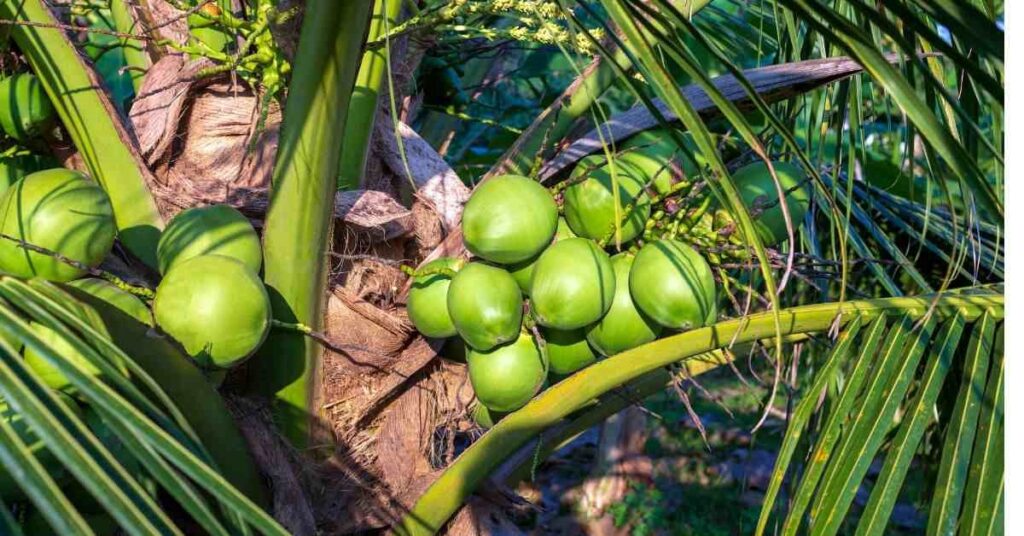
Tall palm trees with yummy coconuts make us think of relaxing vacations on beautiful beaches. But what if you could grow your own palm tree at home, even if you don’t live near the beach? Contrary to popular belief, growing a coconut tree from scratch is a feasible project, even for those residing in temperate zones.
Whether you dream of harvesting coconuts in your backyard or nurturing a tropical houseplant, this comprehensive guide will unveil the secrets to successfully germinating a coconut seed and nurturing it into a thriving palm. From selecting the perfect seed to providing the ideal growing conditions, we’ll equip you with the knowledge and techniques on how to grow a coconut tree. Let’s get started!
Before You Begin: What Does the Coconut Tree Need?
Coconuts are tropical trees that flourish in warm, humid climates with plenty of sunlight and consistent rainfall. They thrive in sandy, well-draining soil and have a shallow root system. Here are some key factors to consider before embarking on your coconut-growing journey:
- Climate: Growing a coconut outdoors year-round might not be feasible unless you reside in a tropical or subtropical zone. Consider container gardening for colder climates, allowing you to bring the tree indoors during unfavourable seasons.
- Space: Coconut palms can grow over 60 feet tall, with a significant crown spread. Ensure you have ample space to accommodate its mature size. Dwarf varieties are available for those with limited space.
- Patience: Growing a coconut tree from seed is a slow process. Germination can take several months, and it may take years for the tree to reach maturity and produce fruit.
Selecting the Perfect Coconut Seed
The key to successfully growing a coconut tree is choosing a viable seed. Here’s what to look for:
- Freshness: Opt for a fresh, mature coconut. Look for coconuts with a fibrous husk; avoid those with dry, cracked husks or any signs of mold.
- Origin: Ideally, select a coconut directly from a palm tree or purchase one from a reputable nursery. Avoid coconuts sold for consumption, as they might be treated with preservatives that hinder germination.
- Three husk holes: A coconut has three germination points, or “eyes.” Choose a coconut with at least one of these eyes appearing intact and free of blemishes.
Germinating Your Coconut Seed: A Step-by-Step Guide on How to Grow a Coconut Tree
Germinating a coconut seed is the exciting first step in your coconut-growing journey. While the process can take several months, witnessing that initial sprout emerge is a truly rewarding experience. Here’s a detailed breakdown of each step to ensure a successful germination:
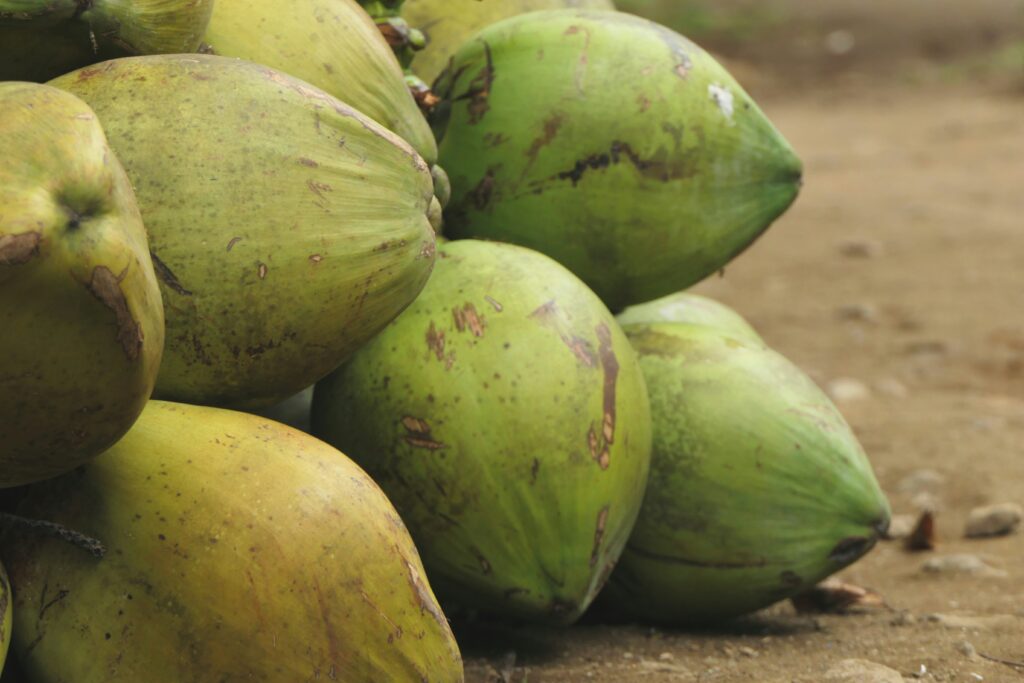
Photo by Utsman Media on Unsplash
1. Husking with Care:
Removing the fibrous husk surrounding the coconut requires some effort but can be done safely with the right tools and technique. Here are two common approaches:
- Hammer and Chisel Method: Secure the coconut in a sturdy vice or hold it firmly on a flat surface. Using a hammer and chisel, carefully break away small sections of the husk at a time. Work your way around the coconut, aiming to remove most of the fibrous material without damaging the brown inner shell. Wear safety glasses to protect your eyes from flying debris.
- Power Tool Method (Optional): For a quicker approach, some growers use a drill with a masonry bit or a power saw to create sections or wedges in the husk. This method can be efficient but requires extra caution to avoid puncturing the inner shell. It’s advisable only to attempt this method if you’re comfortable using power tools.
Whichever method you choose, remember:
- Start at one end: Begin husking from one of the coconut’s poles (the rounded ends) and gradually work your way towards the middle.
- Go slow and be meticulous: Patience is key. Take your time to avoid accidentally damaging the inner shell, which could compromise the seed’s viability.
- Stop when you reach the brown shell: Once you’ve exposed most of the brown, smooth shell, it’s safe to halt the husking process. A thin layer of husk fibers can remain on the shell.
2. Soaking for Success:
Submerging the coconut in water is a crucial step that helps soften the outer shell and aids germination. Here’s how to do it effectively:
- Find a suitable container: Choose a bucket or other container large enough to fully submerge the coconut.
- Use lukewarm water: Fill the container with lukewarm water (around 70°F to 80°F). Avoid using hot water, as this can damage the seed.
- Submerge completely: Place the coconut in the water, ensuring it’s entirely covered.
- Weight it down (optional): If the coconut floats, consider placing a weight on top, like a clean brick or a plate with a heavy object, to submerge it.
- Change the water daily: Stagnant water can encourage bacterial growth. To prevent this, replace the water in the container with fresh, lukewarm water every day.
The soaking period typically lasts for three to four days. Some growers recommend extending it to a week, but be mindful of any signs of mold or rot developing on the coconut’s surface. If this occurs, discard the seed and start fresh.
3. Cracking for Faster Germination (Optional):
While soaking softens the shell naturally, some growers advocate for an additional step: carefully cracking the shell around the germination eyes. Here’s what to consider:
- Benefits: Cracking can create entry points for moisture to reach the embryo inside the seed, potentially accelerating germination.
- Drawbacks: There’s a risk of damaging the seed itself if not done cautiously.
If you decide to crack the shell:
- Focus on the eyes: Locate the three germination eyes (small, dark spots) on the brown shell.
- Use appropriate tools: Employ pliers or a vice to carefully crack the shell around each eye, creating small fissures but not breaking through entirely.
- Less is more: A few hairline cracks around each eye are sufficient. Avoid creating large cracks or fractures in the shell.
Remember, cracking is an optional step, and many coconut seeds germinate successfully without it.
4. Planting for Growth:
Once the soaking period is complete (and the optional cracking step is done), it’s time to plant your coconut seed! Here’s how to prepare the pot and promote healthy root development:
- Choose the right pot: Select a pot at least 12 inches deep with ample drainage holes at the bottom. Opt for a plastic pot, as it usually retains moisture better than terracotta.
- Prepare a well-draining mix: Fill the pot with a well-draining potting mix. A good option is a combination of half potting soil and half sand with added perlite or vermiculite to enhance drainage.
- Positioning the seed: Place the coconut on its side in the pot with one of the germination eyes facing slightly upwards. Gently bury about a third of the coconut in the potting mix, ensuring the remaining two-thirds protrude above the soil surface. This positioning allows for proper gas exchange and easier sprout emergence.
- Watering thoroughly: Water the potted coconut generously until water drains freely from the bottom holes. This ensures the potting mix is evenly moistened.
- Finding the warm spot: Place the potted coconut in a warm location with plenty of indirect sunlight. Ideal temperatures for germination range from 75°F to 85°F (24°C to 29°C). Avoid placing it in direct sunlight, which can overheat the seed and hinder germination.
5. Patience is Key: How Long Does It Take for A Coconut Tree to Grow?
Germinating a coconut seed is a slow process, and patience is crucial. It can take anywhere from 60 – 220 days (2 – 6 months) for a sprout to emerge, depending on various factors like water temperature during soaking, the overall health of the seed, and ambient temperature.
- Maintaining moisture: Throughout the germination period, ensure the potting mix stays consistently moist but not waterlogged. Water regularly, allowing the top inch of soil to dry slightly between waterings.
- Signs of success: Keep an eye on the planted coconut. You might see a white root protruding from one of the eyes before the actual sprout emerges. This is a positive indication that germination is underway.
- Don’t despair if it takes time: Germination can be slow and unpredictable. If you haven’t seen any signs of growth after six months, the seed might not be viable. However, some coconuts can take even longer to sprout, so be patient and continue with proper care.
In the early years, the focus is on developing a robust root system and establishing the palm’s structure. While growth in height may be slow during this period, it progresses steadily as the tree forms its foundation.
Finally, maturity and fruiting occur after six to ten years on average. However, certain coconut varieties may take longer, with peak fruit production potentially occurring 15 to 20 years after planting. This timeline underscores the importance of patience and perseverance in nurturing coconut trees to fruition.
Following these detailed steps and ensuring the germinating coconut seed receives the right conditions increases the likelihood of witnessing the exciting moment when a tiny green sprout pushes its way through the coconut shell. This marks the beginning of your journey towards nurturing a beautiful and thriving coconut palm.
Final Thoughts:
Cultivating a coconut tree from seed is a rewarding experience that offers a taste of the tropics right in your own space. While it requires patience and dedication, witnessing the initial sprout emerge and nurturing it into a thriving palm is a truly special journey.
This comprehensive guide has equipped you with the knowledge and techniques to understand how to grow a coconut tree from seed to a healthy, flourishing plant. Check out other interesting reads on our blog page!